FASHION SEWING: My DIY Inspired Mini Shirtdress…
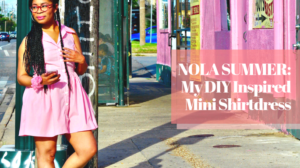
MY DIY STYLE NOLA SUMMER MY DIY INSPIRED MINI SHIRT DRESS Share on facebook Share on twitter Share on pinterest Share on linkedin Share on
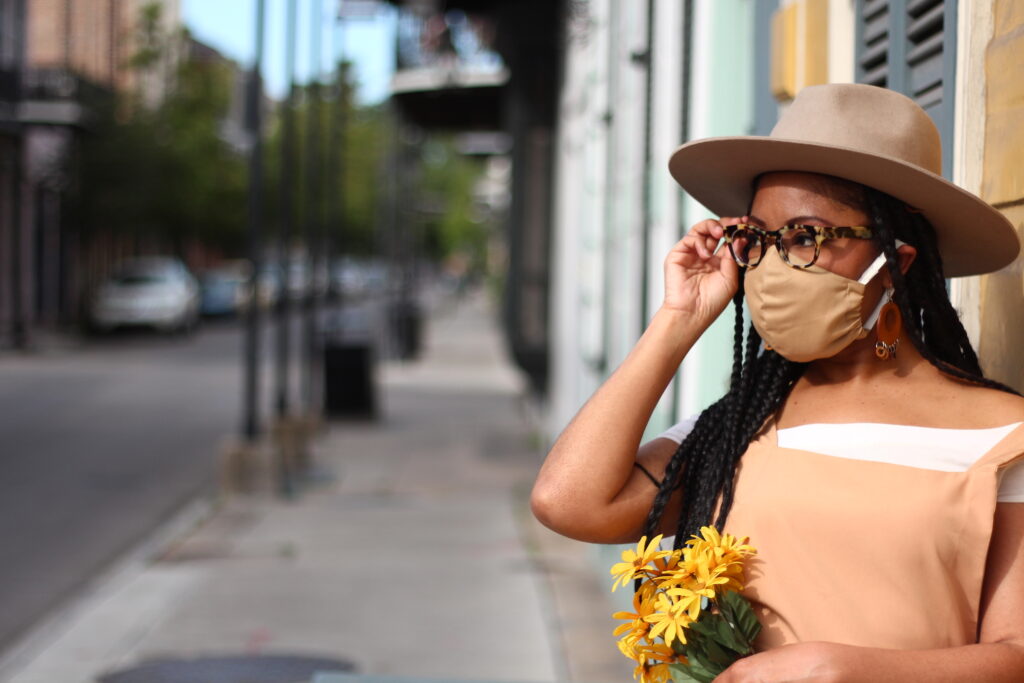


MY DIY STYLE NOLA SUMMER MY DIY INSPIRED MINI SHIRT DRESS Share on facebook Share on twitter Share on pinterest Share on linkedin Share on

MY DIY STYLE FASHION SEWING MY INSPIRED BLACK COCKTAIL DRESS Share on facebook Share on twitter Share on pinterest Share on linkedin Share on email

MY DIY STYLE FASHION SEWING MY DIY V-NECK FESTIVAL CAMISOLE My #DIY v-neck #spring #festival cami took me exactly 4 tries (FOUR) to get right. Whew chile… this basic top